Cool weather has arrived, which means it’s time for cozy things. This DIY fringe flannel blanket can be whipped up in an afternoon, so that it’s ready for a cool evening. If you can sew a straight line, then you too can make this cozy throw.

The site may contain links to affiliate websites, and we receive an affiliate commission for any purchases made by you on the affiliate website using such links. As an Amazon Associate I earn from qualifying purchases. As a Revive EO Affiliate I earn from qualifying purchases.
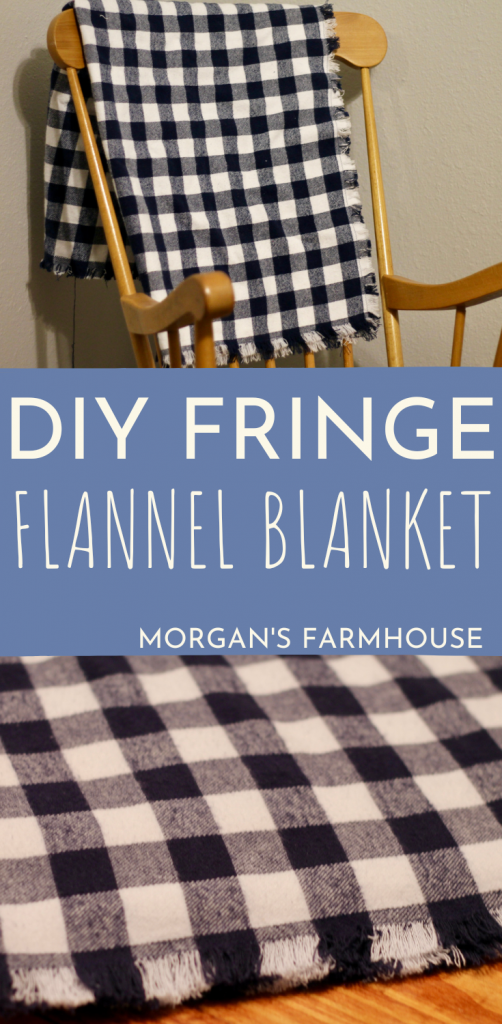
DIY Fringe Flannel Blanket
As the seasons change, I like to put cozier throw blankets out. We keep them on the back of the couch both for decoration and for the cat. He’s spoiled and he knows it. I love the way a blanket looks tossed over the back of a wooden rocking chair. Going out and finding something to match both the season and the decor isn’t always easy. And honestly gets expensive. That’s why I love these DIY fringe flannel blankets. I can find several flannels that match, but aren’t identical for a cohesive look.
These would also make great Christmas gifts. A DIY fringe flannel blanket isn’t too expensive and can be customized to the recipient. This beats one of those $5 fleece throws everybody gets for a gift exchange each year. Plus, homemade gifts always come with extra thoughtfulness and love.
This would also be perfect for in the car. When going out in the morning or a cold winter day, the car is never warm enough when it’s time to go. A little throw to toss over your lap is amazing. If you have little kids that can’t ride in their car seats with a coat, they can wrap up in their special flannel blanket after they get buckled.
When I got my first car, Mama Susie gave me a blanket to keep in the trunk, just in case. She said that it could come in handy in an emergency, cold morning, unexpected breeze at the rodeo, or even to cover valuables in the back seat. She wasn’t wrong. It was perfect to toss on the ground for picnics or around my shoulders between college classes. From kids to adults, everybody needs one of these DIY fringe flannel blankets!
Get Your FREE Holiday Planner!
Pin it for Later!
DIY Fringe Flannel Blanket Tutorial
Supplies
2 yards of flannel
Thread
Sewing machine or needle
Directions
- To begin, cut about an inch off of all sides of the fabric. If there is a pattern, use that as a guide. This will ensure that the edges are even before you begin. I messed up this part and got some uneven fringe.
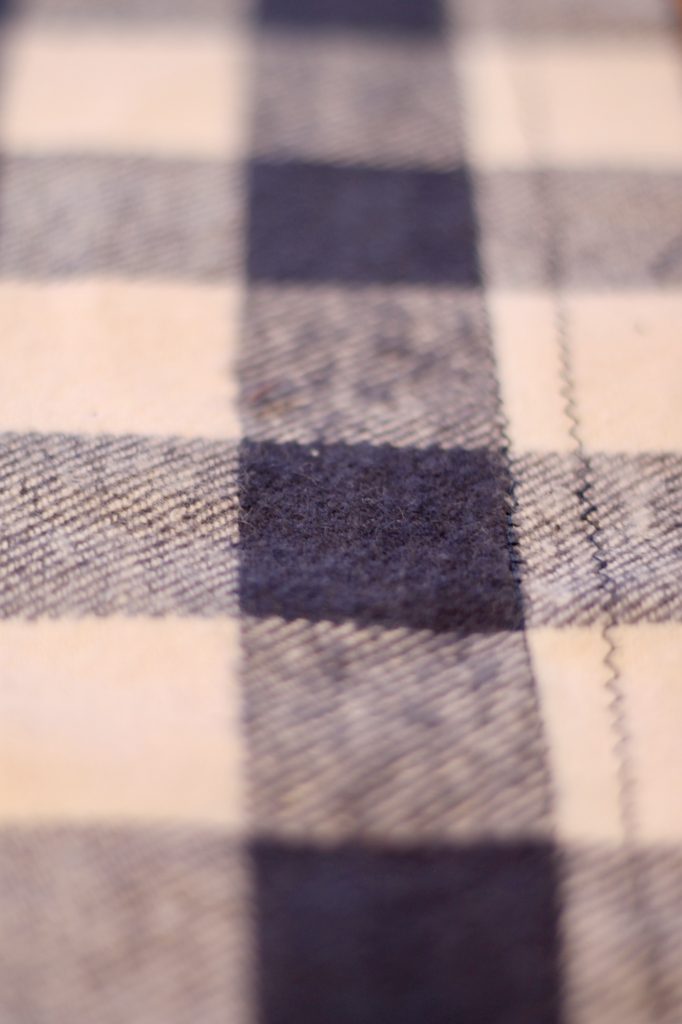
- Then sew a zigzag seam around the edge. Make this as far from the edge as you would like the fringe to be. This will keep the blanket from unraveling when you wash it.
- Next move in about ¼-½ inch and go around with a zigzag again. This seam will help the blanket keep its shape and act as insurance if you accidentally rip the first seam. Matching thread looks great, but can be hard to see.
- Now go around the edge with a seam ripper and rip about every ½ inch. Start at the seam and go out to prevent accidents. This will break up the threads that you need to remove to make fringe.
- Then toss the blanket in the washer for a quick wash. I don’t bother using soap. The purpose is just to remove the threads. Afterwards put it in the dryer. You may need to empty the lint trap more than once during the cycle.
- Finish removing any of the threads and voila! You have a DIY fringe flannel blanket.
The site may contain links to affiliate websites, and we receive an affiliate commission for any purchases made by you on the affiliate website using such links. As an Amazon Associate I earn from qualifying purchases. As a Revive EO Affiliate I earn from qualifying purchases.
Leave a Reply