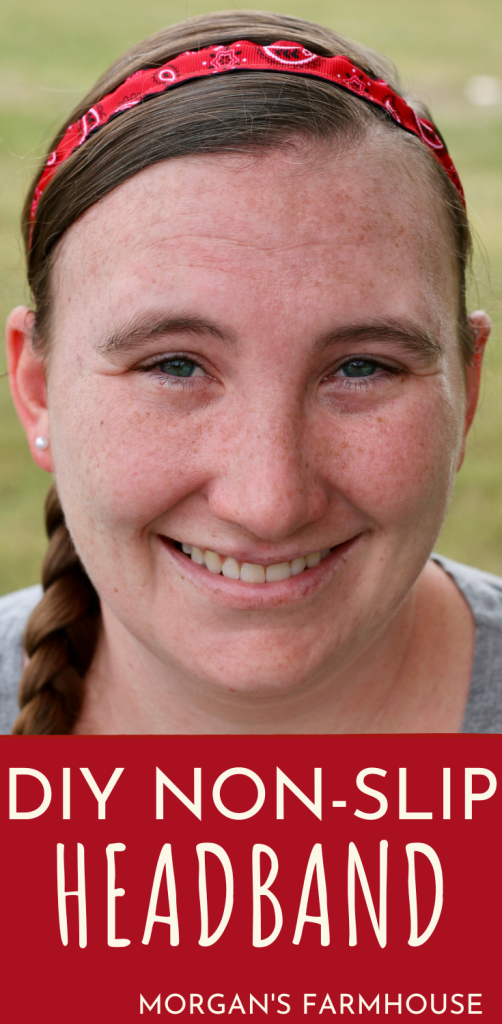
Do you love the idea of using a headband to keep your hair out of your face, but it just ends up sliding off? Girl, I’ve got you. Make a DIY non-slip headband. The velvet holds it in place, so it’s not sliding off the back of your head all day long. They even work on fine hair.

The site may contain links to affiliate websites, and we receive an affiliate commission for any purchases made by you on the affiliate website using such links. As an Amazon Associate I earn from qualifying purchases. As a Revive EO Affiliate I earn from qualifying purchases.
Fine Then I Don’t Want Bangs
Growing up I always had bangs. I wore my hair in a slicked back ponytail every single day and I wanted my bangs combed down flat. Day to day was fine, unless my mom went out of town and my dad had to do my hair. I remember going to school in tears one day after a morning of my dad doing my hair wrong. One of the other mom’s saw me in the hallway and saved the day.
Eventually our hair lady retired and after that I was never happy with my bangs. The new ladies cut them too short or not even. So I had my mom start cutting them, until one day she accidentally stabbed the side of my nose with the super sharp scissors. I moved on to my dad. He cut them with the electric trimmers which did an excellent job. Then one day he accidentally took off half of my eyebrow. It was then that I decided I no longer wanted bangs.
I let them grow out over the summer, but I needed a way to hold them out of my face. Headbands seem to just slide right off the back of my head. I became very frustrated and decided to take matters into my own hands. I had seen some very expensive no slip headbands that used velvet to hold them in place. I figured I could make the same thing for a lot less and with colors that matched my clothes. So the DIY non-slip headband was created. That was back in 2013 and I’m still using those same ones.
Pin it for Later!
Measuring for a DIY Non-Slip Headband
If you are making a DIY non-slip headband for somebody, then I highly recommend you measure the ribbon to fit their head. But I know that is not always possible, especially if it is a gift. So I will include some general sizes as well as how to measure for a specific person.
For a custom fit, you’ll need to measure from behind the bottom of the ear to the same place on the other side. Measure along the same path that the headband will sit on the head. Add about an inch to this measurement to allow for hems.
In general, adults will need 16 inches of ribbon. Kids will need about 14 inches. Toddlers or preschoolers will need about 12 inches.
How to Make a DIY Non-Slip Headband
Materials
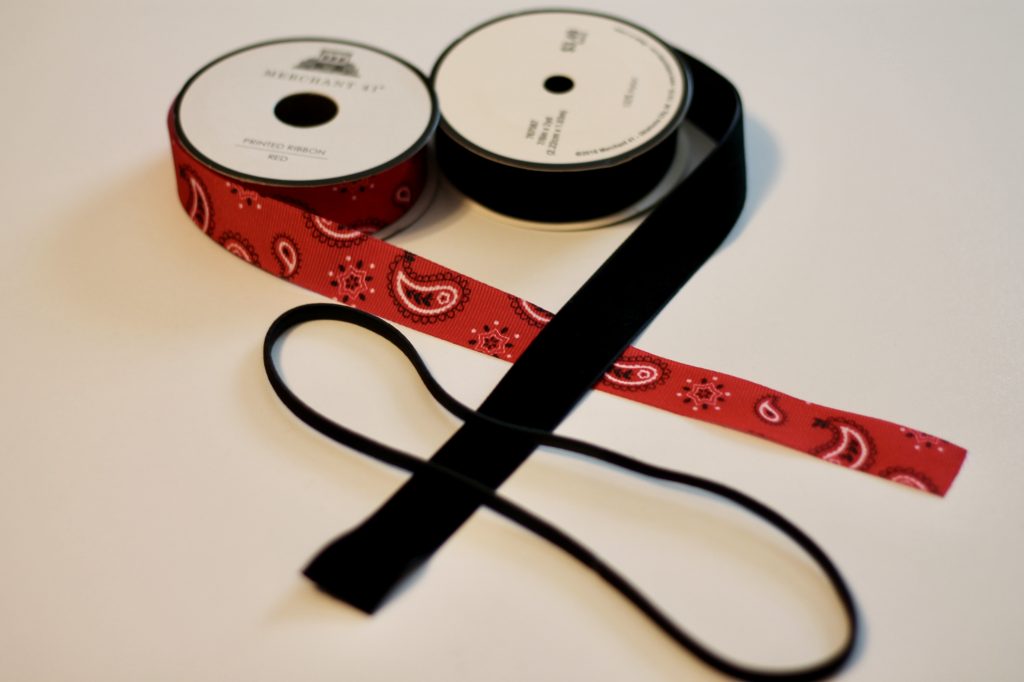
1 cm wide Elastic Headband
1 in wide velvet ribbon
1 in wide decorative ribbon
Thread
Instructions
- Begin by cutting 2 equal lengths of ribbon. One from the velvet roll and another from the decorative roll.
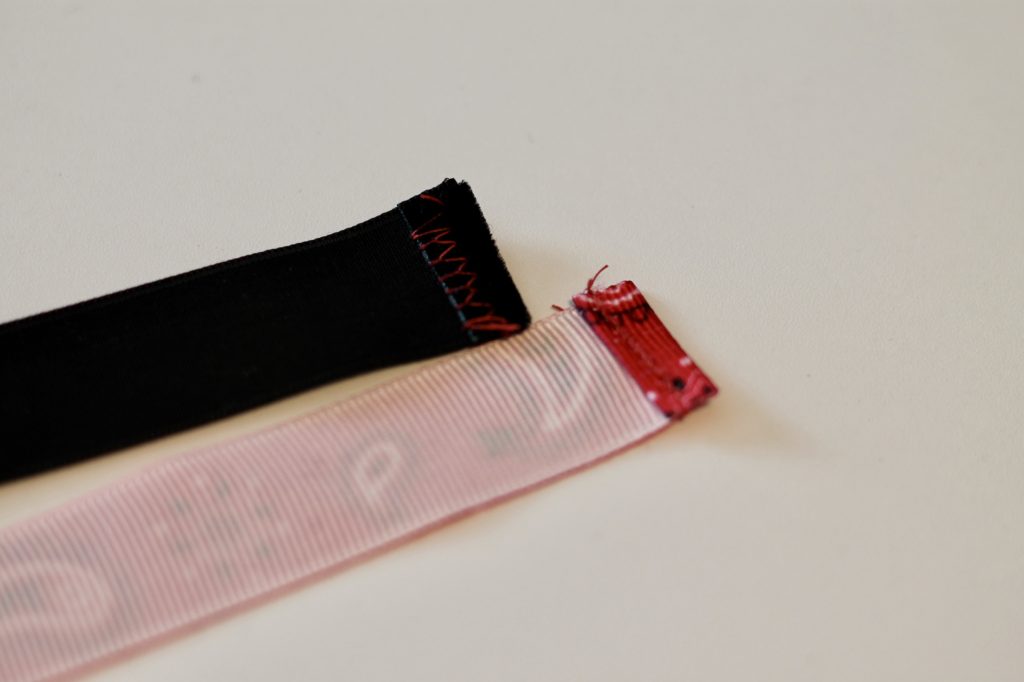
- Next you will need to hem the ends of the ribbons. You can do so by folding up the end about half an inch. Make sure to fold towards the back of the ribbon or the non-velvet side. Then sew a zig zag stitch across the fold to hold the hem in place. This will put the raw edge on the inside so that it won’t fray. Do this on the ends of both ribbons.
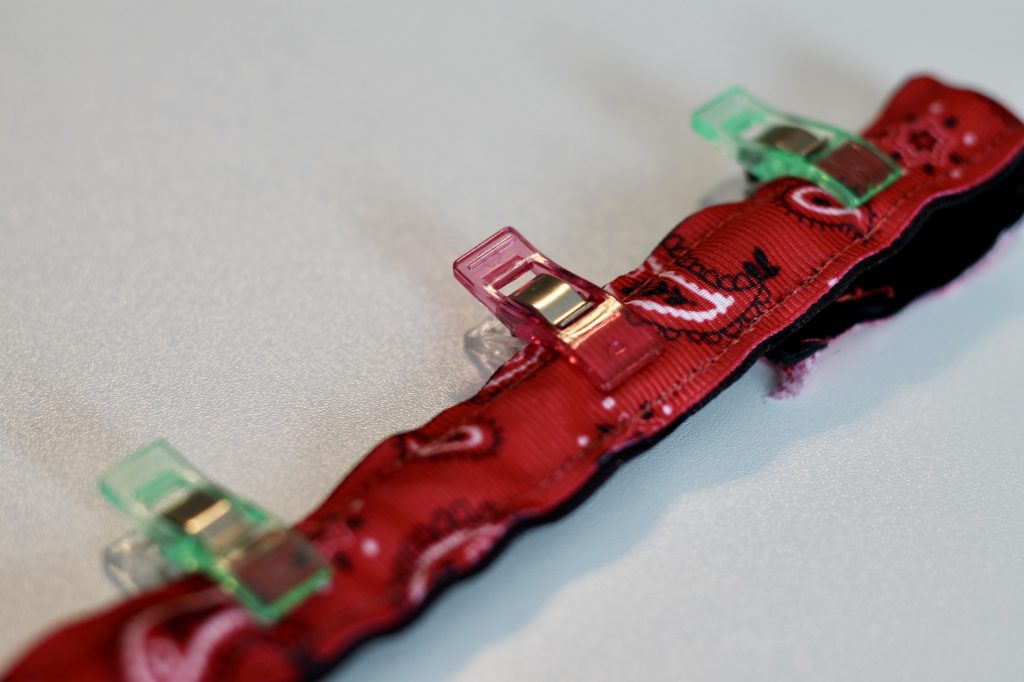
- Then you are going to pin the ribbons together with the elastic headband between them. These clips worked wonderfully to hold the headband in place between the ribbons. You will put them back to back so that you can see the decorative side and the velvet side.
- Finally you’ll sew a straight seam down either side of the ribbon. This will hold the ribbons on the headband, but still allow it to stretch. Remove your pins and now you have a DIY non-slip headband.
DIY Non-Slip Headband Alternatives
You can make these headbands with wider ribbons if you want something bigger. Just find a velvet ribbon of the same width.
I’ve also made them using hair ties instead of a headband. For that I simply sewed the ribbons together then caught the hair ties in the hems. You can tie as many hair ties together as you need to get it long enough.
Another option would be to purchase some elastic. You can use it just like you would the headband by sewing the ends together to make a loop. If you are making a wider headband, I suggest doing this to prevent it from having too much wiggle room inside of the ribbons.
The site may contain links to affiliate websites, and we receive an affiliate commission for any purchases made by you on the affiliate website using such links. As an Amazon Associate I earn from qualifying purchases. As a Revive EO Affiliate I earn from qualifying purchases.
Leave a Reply