Anybody else remember shaking a jar of cream and marbles as a kid? I can’t remember anybody ever actually making butter. Whipped cream at best. While fun, it was efficient. So as an adult, what if I taught you how to churn butter in a mixer instead? Your arms won’t get nearly as tired and there’s no chance of a marble breaking the jar.

The site may contain links to affiliate websites, and we receive an affiliate commission for any purchases made by you on the affiliate website using such links. As an Amazon Associate I earn from qualifying purchases. As a Revive EO Affiliate I earn from qualifying purchases.
Just a Little More
As a little girl, I was obsessed with Laura Ingalls. I mean, I am still obsessed as an adult too. It just started when I was a little girl. One year, I had a Little House birthday party. I remember pulling taffy and shaking butter. Despite shaking that dang jar of cream, I can’t ever remember anybody making more than just whipped cream. But man were we proud of that whipped cream that we spread on bread. I remember repeatedly asking my mom to check my jar for butter and each time she told me, “Just a little more.” But as it turns out, it’s much easier to churn butter in a mixer than it is to shake it out of a jar of cream.
Pin it for Later!
What Do You Need to Churn Butter in a Mixer
The only thing you need to churn butter in a mixer is cream. What kind of cream is totally up to you. I like to buy raw milk from a local farm. I’ll separate the cream from the milk. Then I’ll drink the milk and use the cream to make butter.
If you do not have access to raw milk or cream, then you can use heavy whipping cream. This is easily found in the milk cooler at most grocery stores.
Milk will not work because the cream has already been removed. Even whole milk won’t work because most of the cream has been removed. Did you know that “whole milk” is really only 3.25% milk fat?
How to Churn Butter in a Mixer
Ingredients
Cream
Salt
Instructions
- First you will pour the cream into your mixer’s bowl. Then using the whisk attachment you will start to churn the butter. Start at your lowest speed and gradually increase it as the cream starts to thicken. This will take some time. It takes me anywhere from 10 to 20 minutes to go from cream to butter. I highly recommend covering the mixer with a towel to catch all of the splatter.
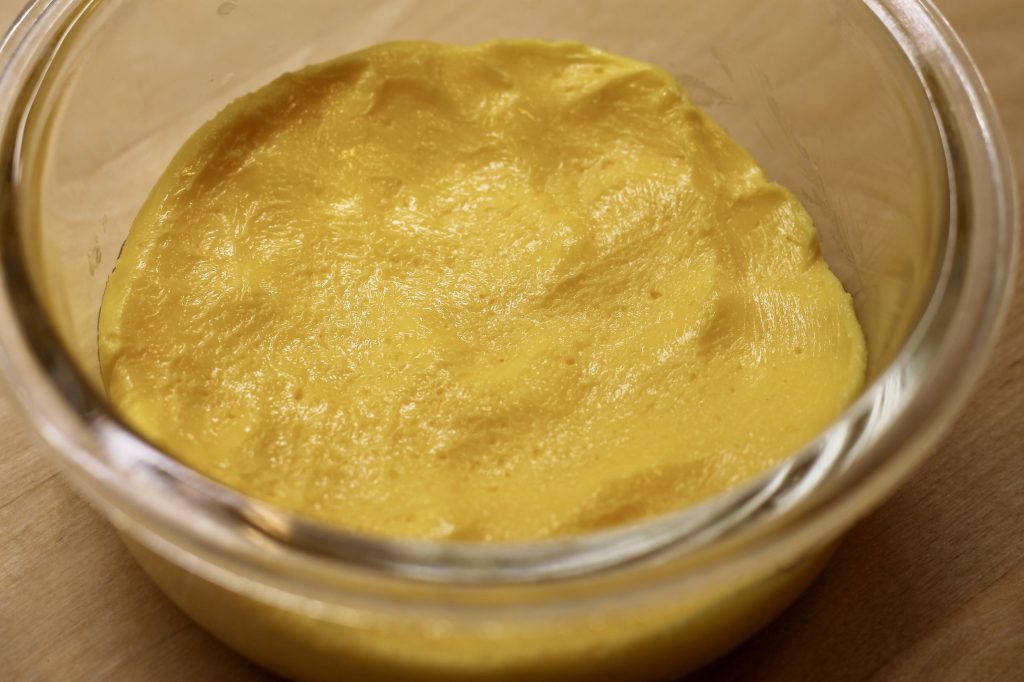
- When the butter has formed, remove it from the bowl. It will be a large chunk or several big pieces of butter and a bowl full of buttermilk. Save that buttermilk for pancakes! Put the butter into a bowl of cold water and knead it. This helps to remove the butter milk, which makes it last longer. You can refresh the water and continue this process until you can no longer remove any more buttermilk.
- Next I place my butter in a tea towel and give it a good squeeze. This removes the water and any remaining buttermilk.
- Finally you need to salt it and pack it into a mold or container. I used a glass container we had on hand, but I’ve got this silicone butter mold on my Amazon Wishlist. Add ¼ teaspoon of salt for every ½ cup or 4 ounces of butter.
After You Churn Butter in the Mixer
The butter can be stored in the freezer for up to a year or in the fridge for up to 5 months. If it starts to spoil early that just means that you didn’t get all of the buttermilk out.
Butter can be left on the counter at room temperature for a day or two. If you decide to do so, then you need to be very sure that all the buttermilk has been removed to prevent it from spoiling.
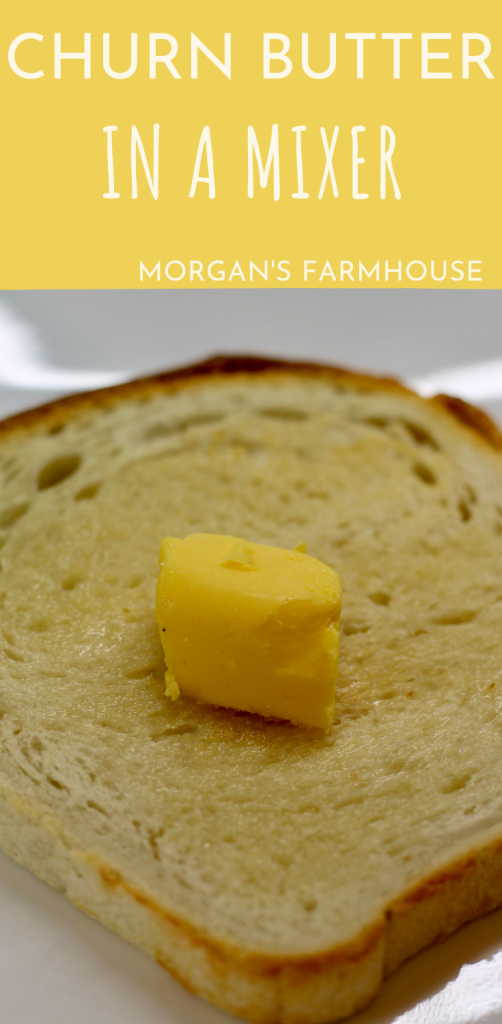
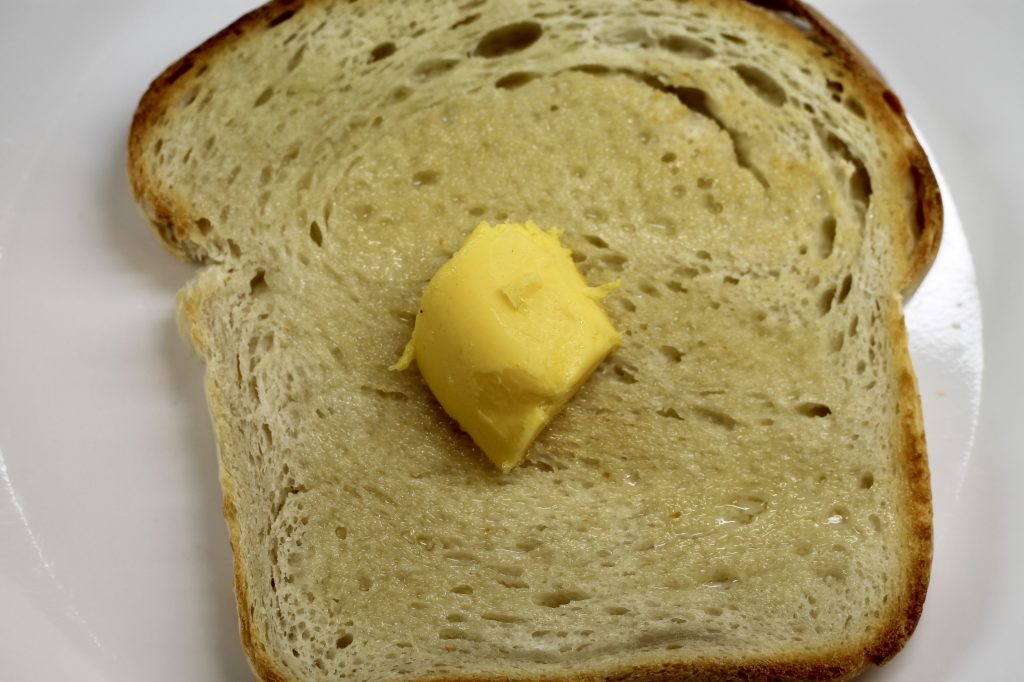
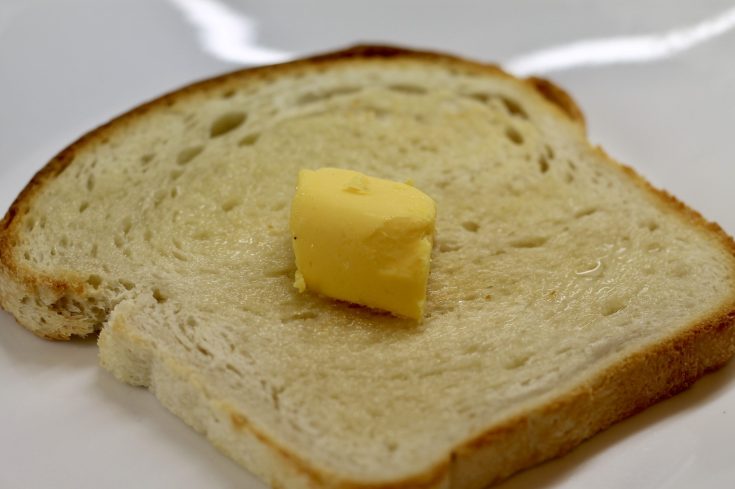
You can use this butter just as you would butter from the store. It’s really good on a piece of toast or baked into a cookie. Or simply to grease a pan.
How to Churn Butter in a Mixer
Anybody else remember shaking a jar of cream and marbles as a kid? I can’t remember anybody ever actually making butter. Whipped cream at best. While fun, it was efficient. So as an adult, what if I taught you how to churn butter in a mixer instead? Your arms won’t get nearly as tired and there’s no chance of a marble breaking the jar.
Ingredients
- Cream
- Salt
Instructions
- First you will pour the cream into your mixer’s bowl. Then using the whisk attachment you will start to churn the butter. Start at your lowest speed and gradually increase it as the cream starts to thicken. This will take some time. It takes me anywhere from 10 to 20 minutes to go from cream to butter. I highly recommend covering the mixer with a towel to catch all of the splatter.
- When the butter has formed, remove it from the bowl. It will be a large chunk or several big pieces of butter and a bowl full of buttermilk. Save that buttermilk for pancakes! Put the butter into a bowl of cold water and knead it. This helps to remove the butter milk, which makes it last longer. You can refresh the water and continue this process until you can no longer remove any more buttermilk.
- Next I place my butter in a tea towel and give it a good squeeze. This removes the water and any remaining buttermilk.
- Finally you need to salt it and pack it into a mold or container. I used a glass container we had on hand, but I’ve got this silicone butter mold on my Amazon Wishlist. Add ¼ teaspoon of salt for every ½ cup or 4 ounces of butter.
The site may contain links to affiliate websites, and we receive an affiliate commission for any purchases made by you on the affiliate website using such links. As an Amazon Associate I earn from qualifying purchases. As a Revive EO Affiliate I earn from qualifying purchases.
Leave a Reply