Have you ever wanted to make your own spices or apple chips? I’ll cover the basics of dehydrating for beginners. It is the perfect starting place if you just picked up a new dehydrator or are considering making a purchase.

The site may contain links to affiliate websites, and we receive an affiliate commission for any purchases made by you on the affiliate website using such links. As an Amazon Associate I earn from qualifying purchases. As a Revive EO Affiliate I earn from qualifying purchases.
Please No More Apples
As a kid, I can remember my parents buying dried fruit from some company. They delivered in some sort of truck, but couldn’t find our house. My mom would wait for the truck, then run down the road to wave it down. They loved the dried apples, but to this day I still don’t like dehydrated fruit.
Pin it for Later!

Ways of Dehydrating for Beginners
There are many ways to dehydrate food, although they are not all created equal. Some are more efficient than others. Don’t let fancy tools hold you back. If you have sun and air you can dehydrate.
Sun Dehydrating
This age old method is how the Romans made raisins. Simply place fruit on a mesh tray and place a second one on top. This will prevent bugs. Allow the fruit to sit in the sun until it is dry. The temperature needs to be at least 86 degrees and the humidity less than 60%.
Air Dehydrating
This is almost exactly like using the sun, except that it’s done in the shade or even inside. This method of dehydrating for beginners is good for herbs. You may see some homesteaders with bunches of herbs hanging in the kitchen. Usually they are using this method of dehydration.
Oven Dehydrating
Dehydrating food in the oven isn’t ideal, but it can work. The ideal temperature is 140 degrees, but I’ve never had an oven that would go that low. Mine goes to 170 and that seems to work fine for me. Place the food in the oven and let it go low and slow for several hours.
Microwave Dehydrating
If you only have a small amount of herbs or fruit, then you could dehydrate them in the microwave. I personally don’t like doing this, but if it’s the best you can do then go for it. Herbs will only take a couple of minutes, but fruit could take 45. Make sure to use the defrost setting to reduce the power.
Electric Dehydrating
This is my preferred method of dehydrating. When you think of a dehydrator this is typically the method you envision. I found a dehydrator similar to this at Aldi for $20 and it has worked perfectly. Place the food on the trays and let it go.

What to Start Dehydrating for Beginners
Now that we covered the different ways of dehydrating for beginners we are going to talk about what to dehydrate. Really the sky is the limit here. I’ve listed what is most commonly dehydrated, but that doesn’t mean there aren’t other food to be dehydrated as well.
Fruits
You can dehydrate whole fruits like blueberries or grapes. This would make a good addition to granola or trail mix. Sliced fruits such as apples or bananas make good snacks if that’s your thing. If your kids enjoy fruit leather, then you can dehydrate fruit puree too.
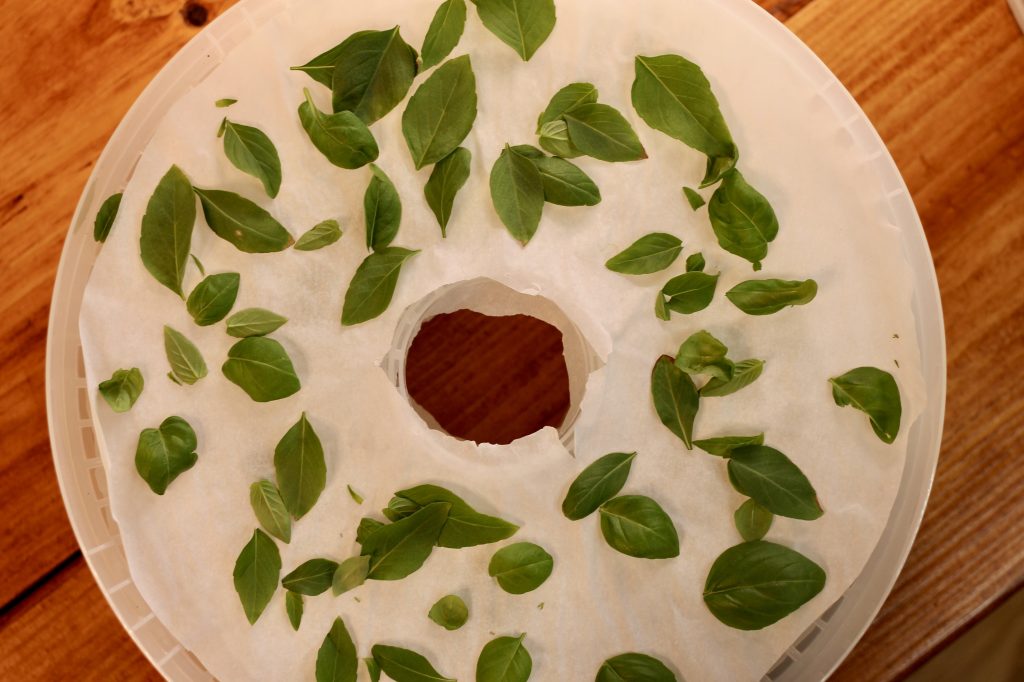
Herbs
My dehydrator is full of herbs for most of the summer. I’ve made an entire post on how to dehydrate herbs in the dehydrator. Basil, parsley, oregano, garlic, and thyme are some of my favorites. Did you know you can make your own garlic powder?
Vegetables
Vegetables can be dehydrated too, but will not be good to eat if simply rehydrated. They would be good in soups or backpacking meals though. Sometimes it can be tricky to get them to stay looking good through the process.
Meat
Meat gets a bit tricker and a lot more precise. But it is totally possible. You can make your own jerky if you so desire.

How to Start Dehydrating for Beginners
The key to getting food to dehydrate nicely is slicing them thin and evenly. I love using my apple slicer because it peels and slices. For carrots or garlic, the food processor works just fine. It can grate or slice them in no time.
You do not have to peel everything that you dehydrate. Apples for instance can go either way. Peaches and tomatoes are easier to peel if boiled for a minute and then placed in cold water. The skins will come right off.
To help most vegetables and some fruits keep their color and flavor you will need to blanch them first. This means putting them in boiling water and then ice water. Carrots, corn, and peas are best blanched and then dehydrated.
After preparing your food for dehydration, follow the guidelines in the recipe or that comes with your machine. Different things need different temperatures and times to dehydrate. Improper temperatures or times could result in spoiled food.
The site may contain links to affiliate websites, and we receive an affiliate commission for any purchases made by you on the affiliate website using such links. As an Amazon Associate I earn from qualifying purchases. As a Revive EO Affiliate I earn from qualifying purchases.
Leave a Reply