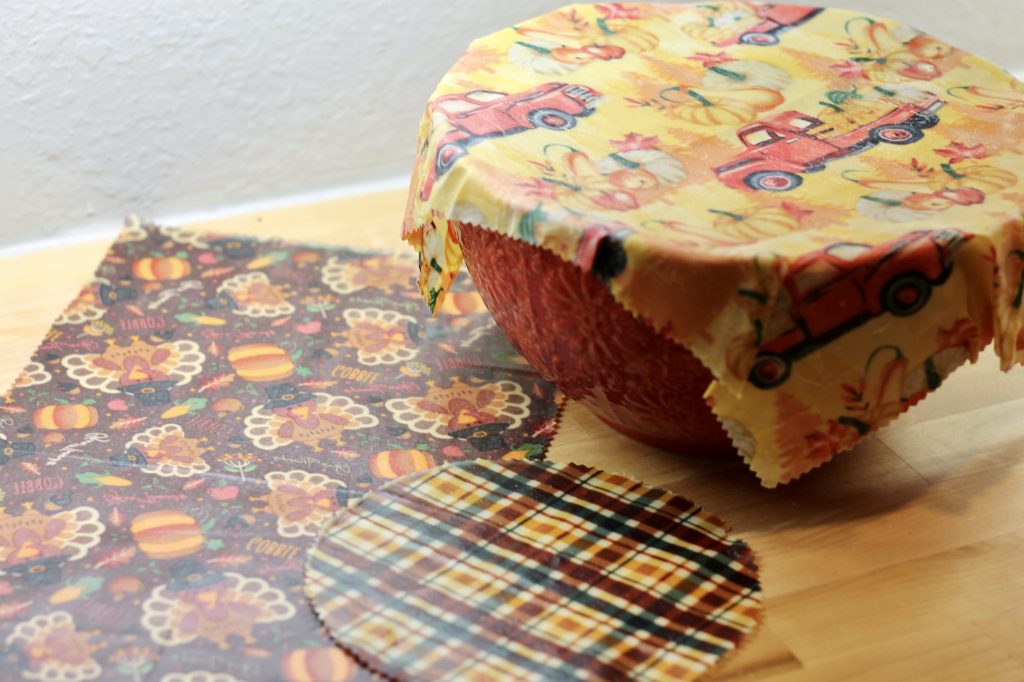
Plastic wrap is out and this adorable DIY beeswax bowl cover is in! Reusable. Sustainable. Eco friendly. Expensive. Count me in! Grab some fabric scraps and beeswax pellets and let’s get crafting! They would make great Christmas gifts as well.
The site may contain links to affiliate websites, and we receive an affiliate commission for any purchases made by you on the affiliate website using such links. As an Amazon Associate I earn from qualifying purchases. As a Revive EO Affiliate I earn from qualifying purchases.
Out With The Icky
I am very slowly going through the house and replacing things full of icky toxins with ones that are less icky. It is not ever going to be perfect because of the time we live in, but there are some things that I know I can do better.
I’ve removed the icky ingredients from my laundry routine. My skincare and personal hygiene products are almost all homemade and all natural. The standard American diet has been replaced with real food and ferments. Up next is the use of plastics in the house.
This summer, our plastic containers were replaced with glass ones. Most of our pantry staples reside in mason jars. The leftovers all go into glass containers. We drink from mason jars and stainless steel tumblers. Yet it seems silly to make all of these swaps, but continue to use plastic wrap. So I went looking for a solution.
Insert the DIY beeswax bowl cover. Yes the fabric has dyes and chemicals in it depending on what you buy, but I’m convinced it is still better than plastic wrap. They are super easy to make and down right adorable. I may need a set for every season. The women in my family may be receiving a few as Christmas gifts this year as well. Did I mention I’m obsessed.
Get Your FREE Holiday Planner!
Pin it for Later!

Why a DIY Beeswax Bowl Cover?
Plastic wrap contains PVC which has toxins like lead and DEHA. DEHA has been found to disrupt your hormones and possibly cause cancer as well. Need I say more? Probably not, but I will anyway.
Plastic wrap is not easily recycled, so it ends up polluting our drinking water, oceans, and filling the landfills. Not to mention it can get expensive. I don’t like to buy things that I only intend to use once before throwing them out. It seems like a waste of money.
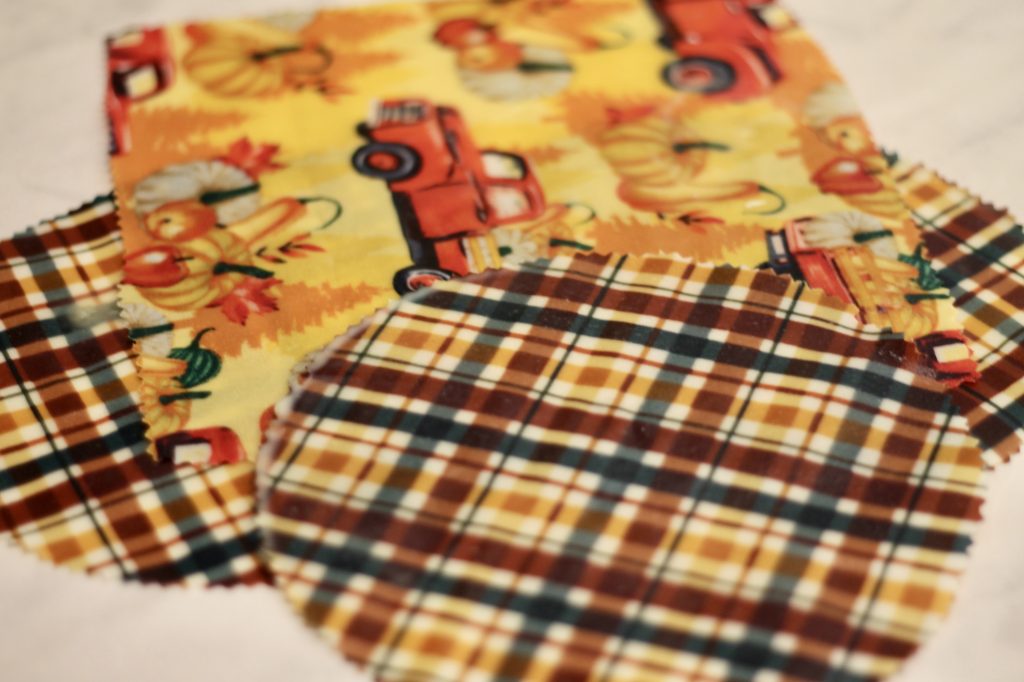
A DIY beeswax bowl cover can be made from organic cotton or any of your 100% cotton fabric scraps. If you are worried about the chemicals from the dyes, I recommend you go organic. A good wash should take care of things though, since the food won’t actually touch the fabric.
Beeswax is all natural and nontoxic. This is what has the potential to touch your food, so I highly recommend buying a good quality wax.
Unlike plastic wrap a bowl cover can be used repeatedly.
How to Make a DIY Beeswax Bowl Cover
Supplies
100% cotton fabric
Parchment paper
Cookie sheet
Clothesline
Foam paint brush
Instructions
- Before making the bowl covers make sure to wash, dry, and iron the fabric.
- Begin by cutting the fabric into the shape and size you need. I suggest laying it wrong-side up and tracing a plate or bowl with pencil. Use the pinking shears to cut it out. This will help prevent the fabric from unraveling.
- Then preheat the oven to 170. Beeswax has a very low smoke point, so do not turn it up any hotter. Line a cookie sheet with parchment paper. If you are worried you can wrap the pan in aluminum foil first to prevent any wax from getting on the pan.
- Next place a bowl cover on the parchment paper and sprinkle beeswax pellets or grated beeswax over the top. Then bake it for about 7 minutes or until the wax melts. Use the paint brush to move around the beeswax to cover all of the fabric. Then pop it back in the oven for a couple minutes.
- As soon as the wax is melted, remove the bowl cover from the cookie sheet. This must be done quickly before it starts to harden. I used my fingers, but you can use tongs if that makes you feel more comfortable.
- Allow the bowl cover to dry on a clothesline or some parchment paper. Now you’re ready to cover up some leftovers!

Using & Caring for a DIY Beeswax Bowl Cover
Always wash the beeswax bowl cover with cold water and dish soap. Hot water will cause the wax to melt. This means absolutely no dishwasher. Make sure the DIY beeswax bowl cover is completely dry before using it again.
It is not recommended that this be used to cover meat or acidic. Since it can’t be washed in hot water or sanitized, it’s best to stay away from meat. Acidic food could break down the beeswax and cause it to lose its seal.
A DIY beeswax bowl cover will last for about a year. At that point you can recoat it with more beeswax or make new ones with some new fabric prints.
To cover a bowl, place the cover firmly on the rim. Use the heat of your hand to form it around the bowl.
Some people find it convenient to store them wrapped around an empty paper towel tube. I tend to lay them flat on top of the bowls myself.

The site may contain links to affiliate websites, and we receive an affiliate commission for any purchases made by you on the affiliate website using such links. As an Amazon Associate I earn from qualifying purchases. As a Revive EO Affiliate I earn from qualifying purchases.
[…] Get the Recipe: DIY Beeswax Bowl Covers with Fabric Scraps […]