Do you plan on incubating chicken eggs this spring? It is one of the best parts of homesteading. New life and tiny fluffy chicks are exciting for the whole family. Plus it is a good science lesson for the kids.

The site may contain links to affiliate websites, and we receive an affiliate commission for any purchases made by you on the affiliate website using such links. As an Amazon Associate I earn from qualifying purchases. As a Revive EO Affiliate I earn from qualifying purchases.
Chicken Nuggets or Scrambled Eggs?
Every year, you’ll find me incubating chicken eggs with my preschool class. During our farm unit, we put the incubator in the science center. We discuss the difference between eggs from the store and the ones in the incubator. Each day we mark off a day of development. But my favorite thing that we do is the question of the day. When we start incubating the eggs, I ask them if they would rather eat chicken nuggets or scrambled eggs. Of course they don’t understand why it’s funny, but every adult in the room does.
Pin it for Later!

Incubating Chicken Eggs: Prepare the Incubator
Before you put the eggs in the incubator, you’ll need to warm it up and get the humidity rising. We use a forced air incubator because it provides a more even temperature than our still-air one did. We’ve also had a better hatch rate.
Put the incubator in a safe location without any drafts. Then fill up the water chambers. I seem to have a hard time with overfilling them. To avoid a stinky mess, I set the incubator on a lid from a plastic tub. This will catch any overflow or spills.
If you are using an egg tuner, place it in the bottom of the incubator and plug it in. Close the lid and plug in the incubator. Let it sit undisturbed for at least a day. Check on it frequently to make sure the temperature stays around 100 degrees and the humidity around 60%.
Incubating Chicken Eggs: Daily Break Down
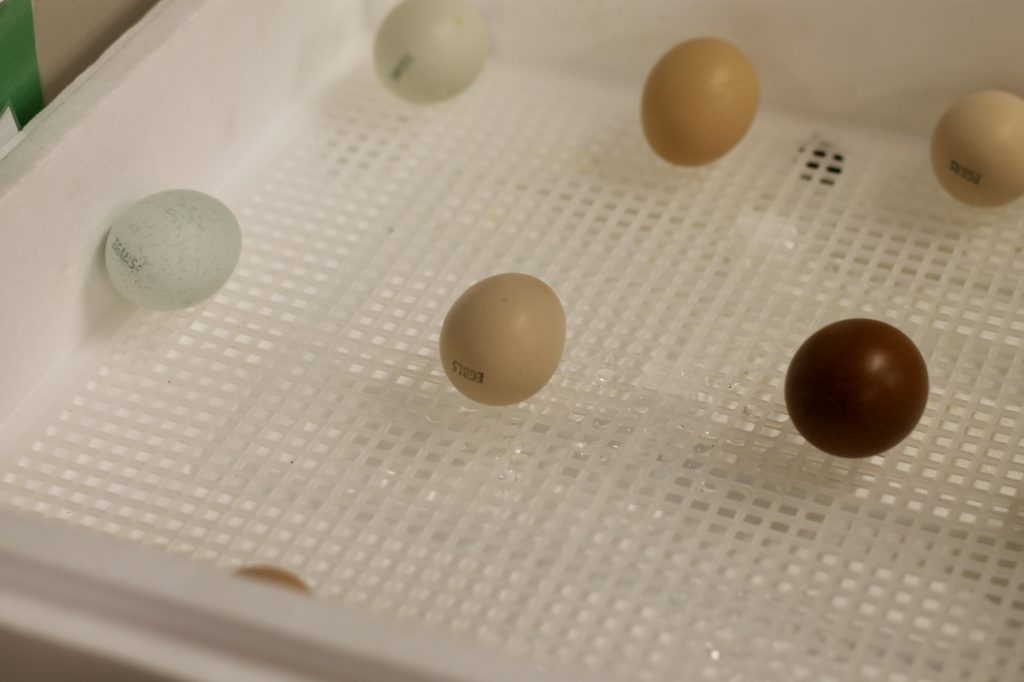
Day 1: Put the eggs in the incubator pointy side down if you’re using an egg turner. If you are rotating by hand, then you’ll need to put an X on the side of each egg. This helps you to know that you are rotating them properly.
Day 2-17: Rotate the eggs daily if you are rotating them by hand. Otherwise you just need to maintain the humidity at 60%. Refill the water as needed. You can candle the eggs periodically to check the development of the chick.
Day 18-20: This time period is called lockdown. You will stop rotating the eggs. Remove the egg turner and place the eggs on the bottom of the incubator. Refill the water reservoirs. Some incubators have an additional space for water during this period. The humidity needs to be around 70%. Wet paper towels can help if you can’t get the humidity high enough. Then close up the incubator and do NOT open it again.
Day 21: It’s hatching day! Although it is tempting, do not open the incubator until all the eggs are done hatching.
Incubating Chicken Eggs: Hatching Day
Although the average chicken egg takes 21 days to hatch, they can arrive a couple days early or a few days late. Do not throw out the unhatched eggs until day 23.
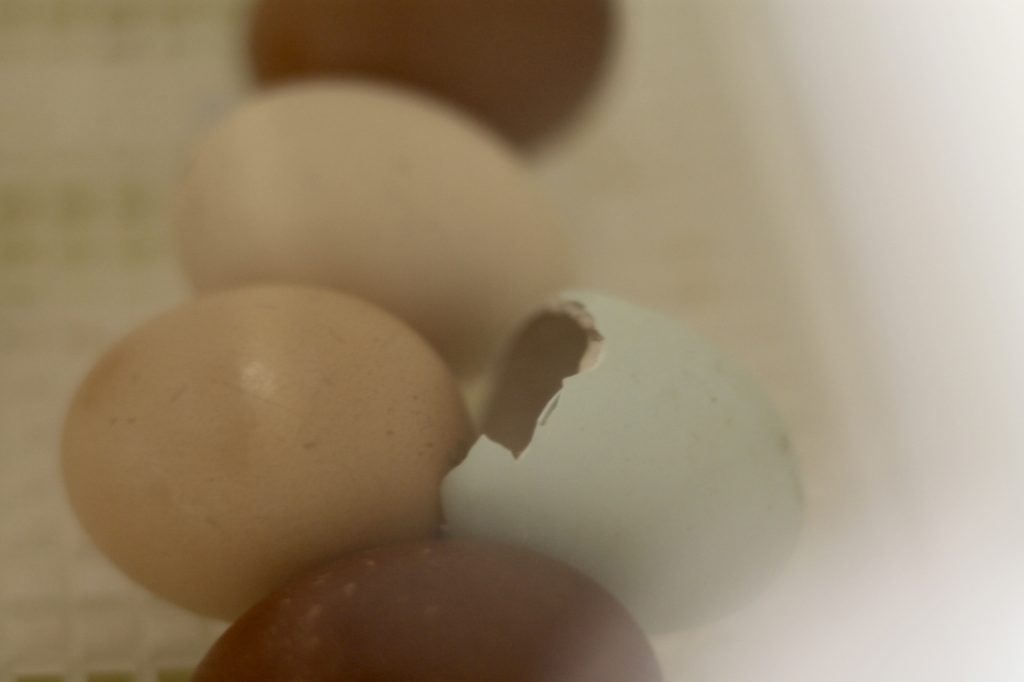
First the egg will pip. This is when the chick makes a single hole in the shell. Then they will start to unzip. That is when the chick makes a crack around the egg. Once they absorb the blood and yolk, they will come out. This process can take up to 24 hours, but usually happens much quicker. Although it is difficult, resist the temptation to help the chicks hatch. You can cause bleeding and even kill the bird by trying to help.
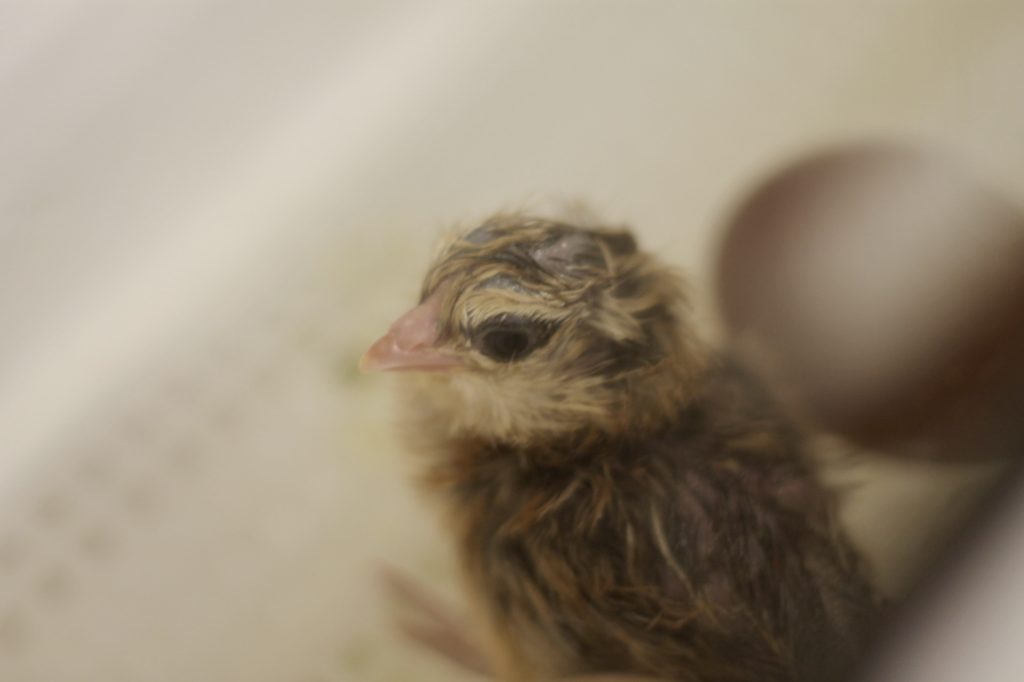
Leave the chicks in the incubator until everybody is done hatching. The chirping will encourage the others to start hatching. When they are dry, you can transfer them to a warm brooder. Push their beaks into the food and water, so that they know where it is.
The site may contain links to affiliate websites, and we receive an affiliate commission for any purchases made by you on the affiliate website using such links. As an Amazon Associate I earn from qualifying purchases. As a Revive EO Affiliate I earn from qualifying purchases.
Leave a Reply